Connecting your T-HUB Online to MIVA Merchant Shopping Cart involves two part process. The first part is Web Server Configuration and the second part is the T-HUB Online Application Configuration
Follow these steps to connect your T-HUB Online to your MIVA Merchant Website.
Web Server Configuration
Step SC1:
Visit this page http://www.mivamerchant.com/partners/t-hub
Step SC2:
Click the download module button on the right of the page to download the server component. Unzip the contents of the folder downloaded.
Step SC3:
Login to your Miva Admin page. Click on Settings > Domain Settings.
On your miva merchant store admin, expand global settings and you will see a link for Modules and next to that there is Add, Click on Add then click on Upload button.
Click on Modules > Add Module
Step SC4:
Click on Choose File, check the Overwrite check box.
Select thub.mvc file downloaded in step SC1 above and then click Upload.
You should see the Information section below. Click on Update
Step SC5:
Now click on Settings > Modules
Search for module "T-HUB". Click on Install under T-HUB Connector
Step SC6:
On the T-HUB Connector tab, set User name and password that you can remember and click on Update.
Note the Request URL, User Name and Password. You will need these settings below.
T-HUB Online Application Configuration
Step 1:
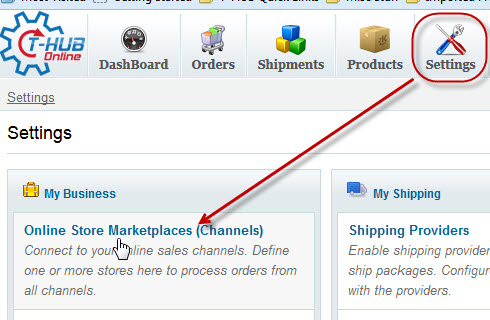
Go to Settings > Click on Online Store Marketplaces (Channels)

Step 2:
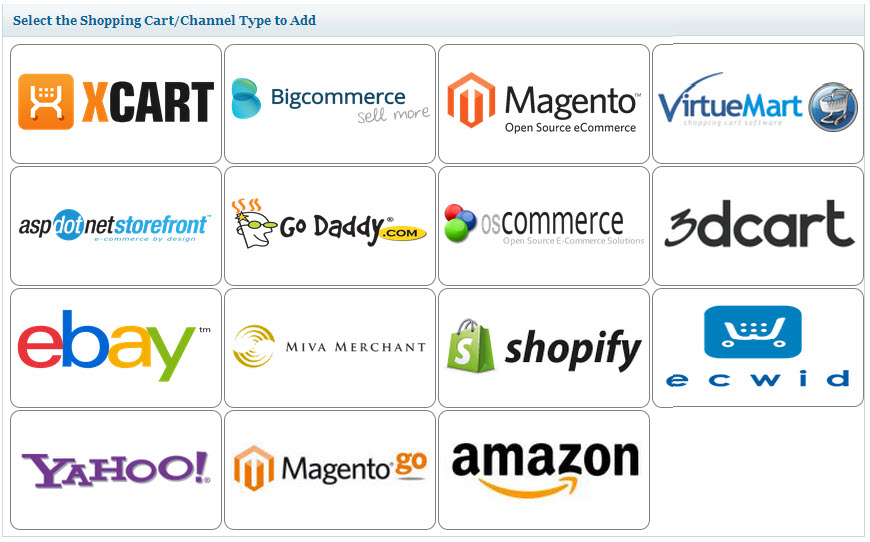
Click on Add New Store and Select MIVA Merchant from list of supported carts.

Step 3:
Enter the Order download start date. This is the date from which T-HUB Online will start downloading your website Orders.
Step 4:
Enter the Web Service Url, Login and password as noted in step SC6 and click on Test Connection.
Step 5:
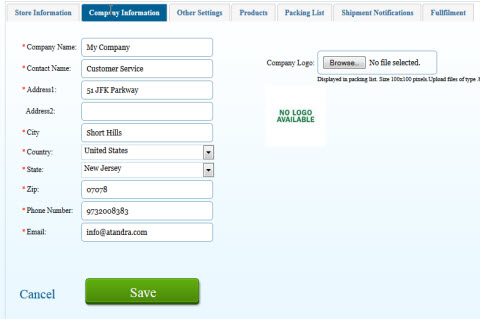
Enter your Company Information

Step 6:
Click on Save to Save your connection details. Click on Test Connection to test the connection from T-HUB Online to your MIVA Merchant website.


